Zusammenfassung
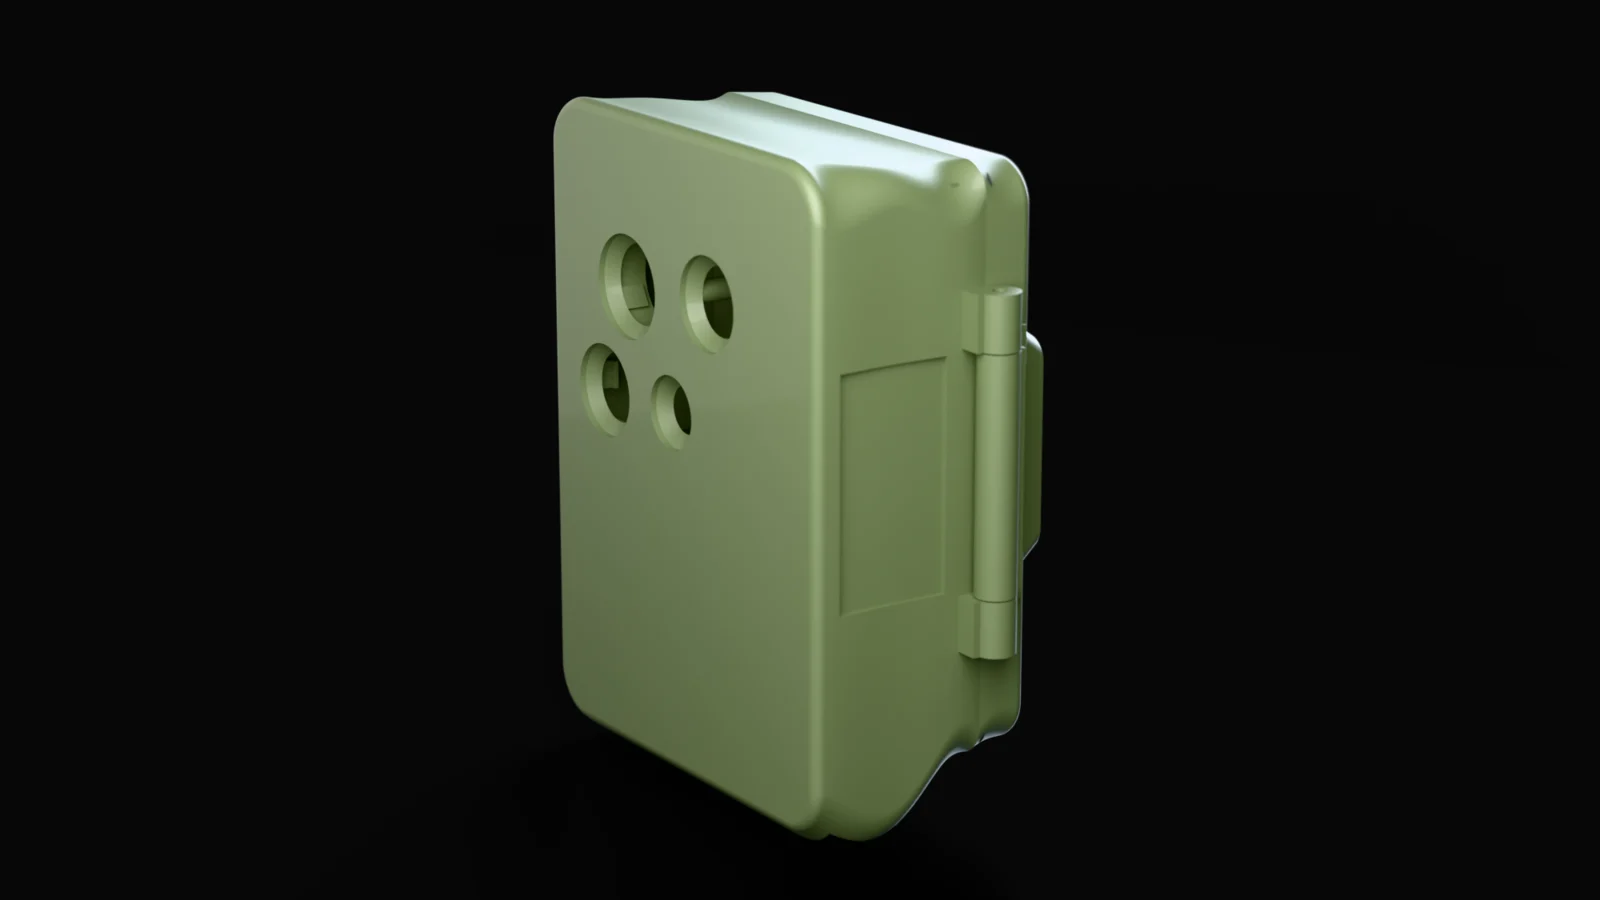
The construction of a robust housing for a trail camera requires specialized solutions to seal the lens and sensors against weather conditions. By using conical seats with 45-degree flanks and TPU seals, waterproof protection for the internal components is achieved.
Diese Zusammenfassung wurde mit KI-Unterstützung erstellt.
A trail camera has to withstand a lot: rain, frost, summer heat, and curious animals. The housing must be able to accommodate all my components and be robust enough—despite being 3D printed at home—to withstand the weather and, above all, prevent any moisture from entering the housing.
Four windows that must remain sealed
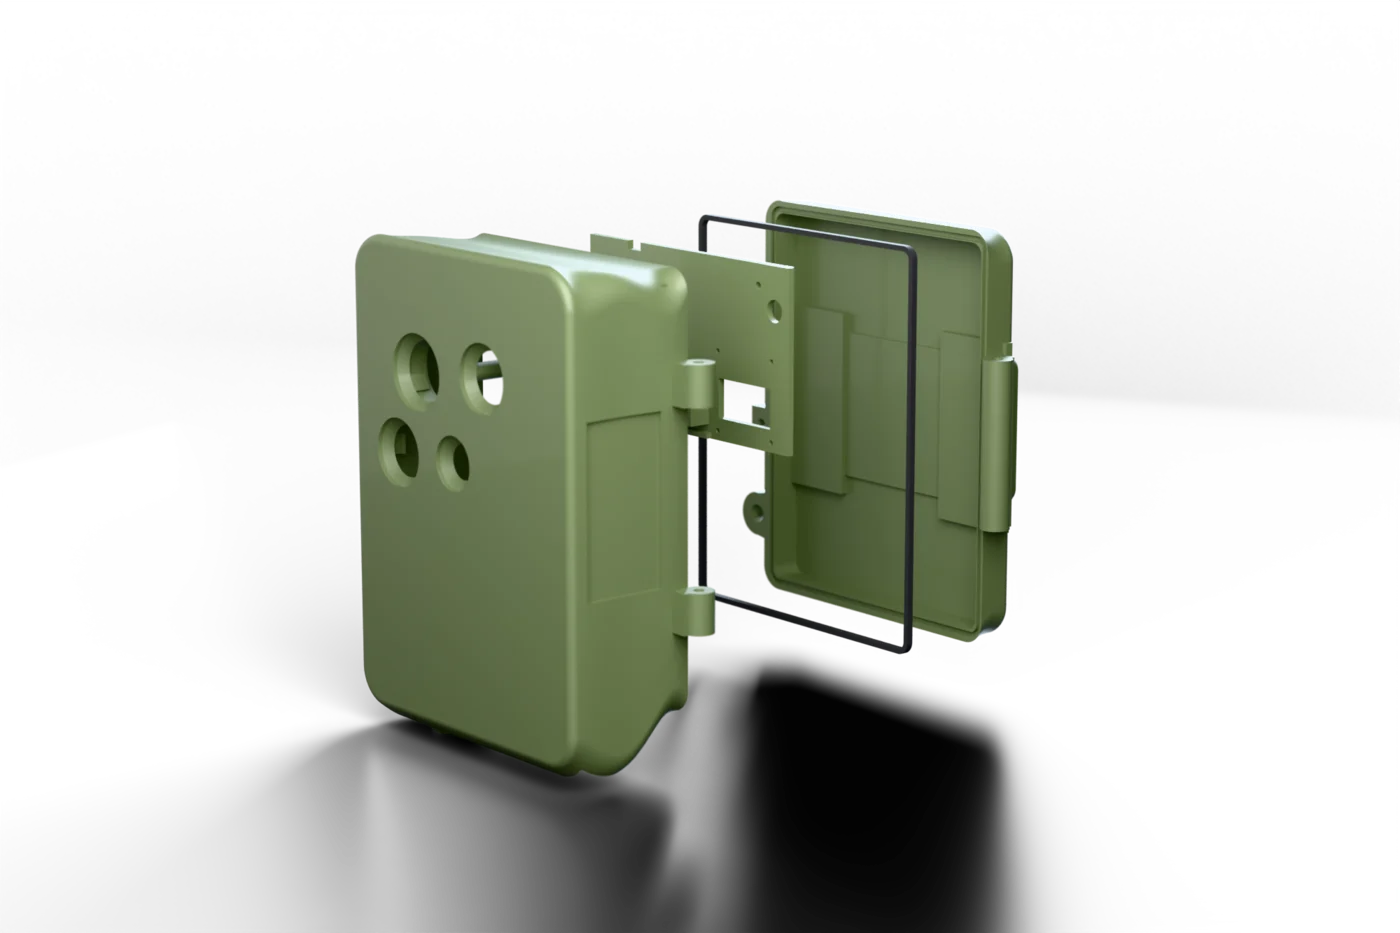
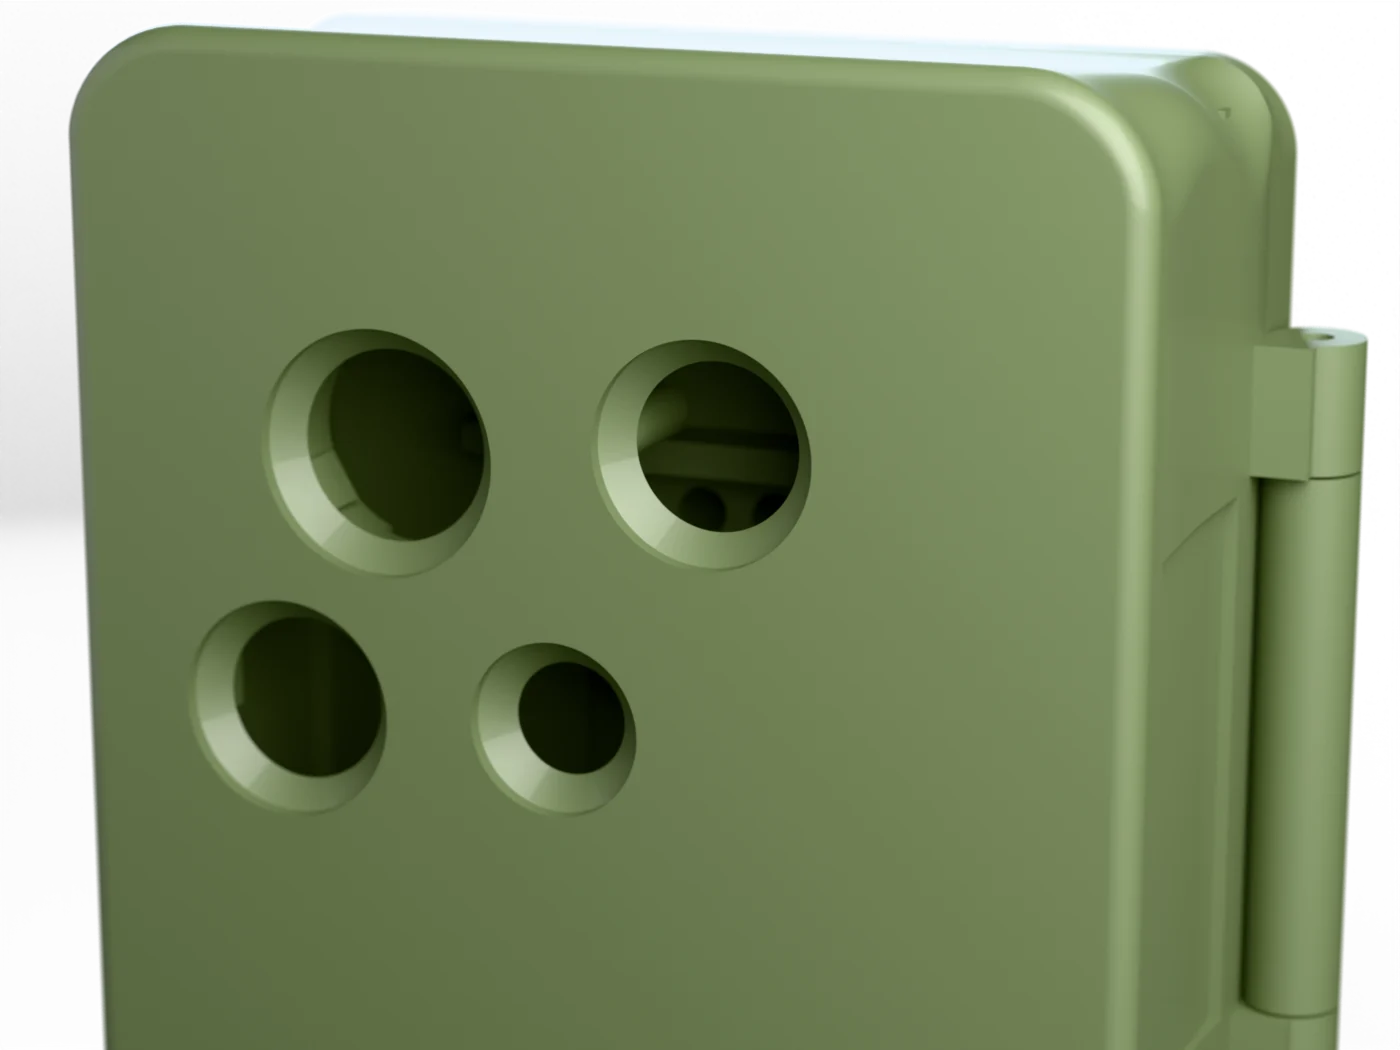
The most critical points of any trail camera are the openings: objective lens, IR flash, light sensor, motion sensor. Four windows, four potential leak points. After several rounds of test prints, one concept prevailed: each window sits in a conical seat with a 45-degree flank. The cone is self-supporting when printed and requires no post-processing; the glass pane rests on a clean ring surface, and the conical gap accommodates the sealant. From the outside, no mounting hardware is visible; from the inside, a clamp presses the pane into its seat. The lid additionally features a continuous seal made of flexible TPU print material. That's the plan.
Such details ultimately decide whether condensation forms behind the lens after the first autumn rain. Therefore, each of these solutions undergoes its own fit test before becoming final.
Test prints: Findings instead of frustration
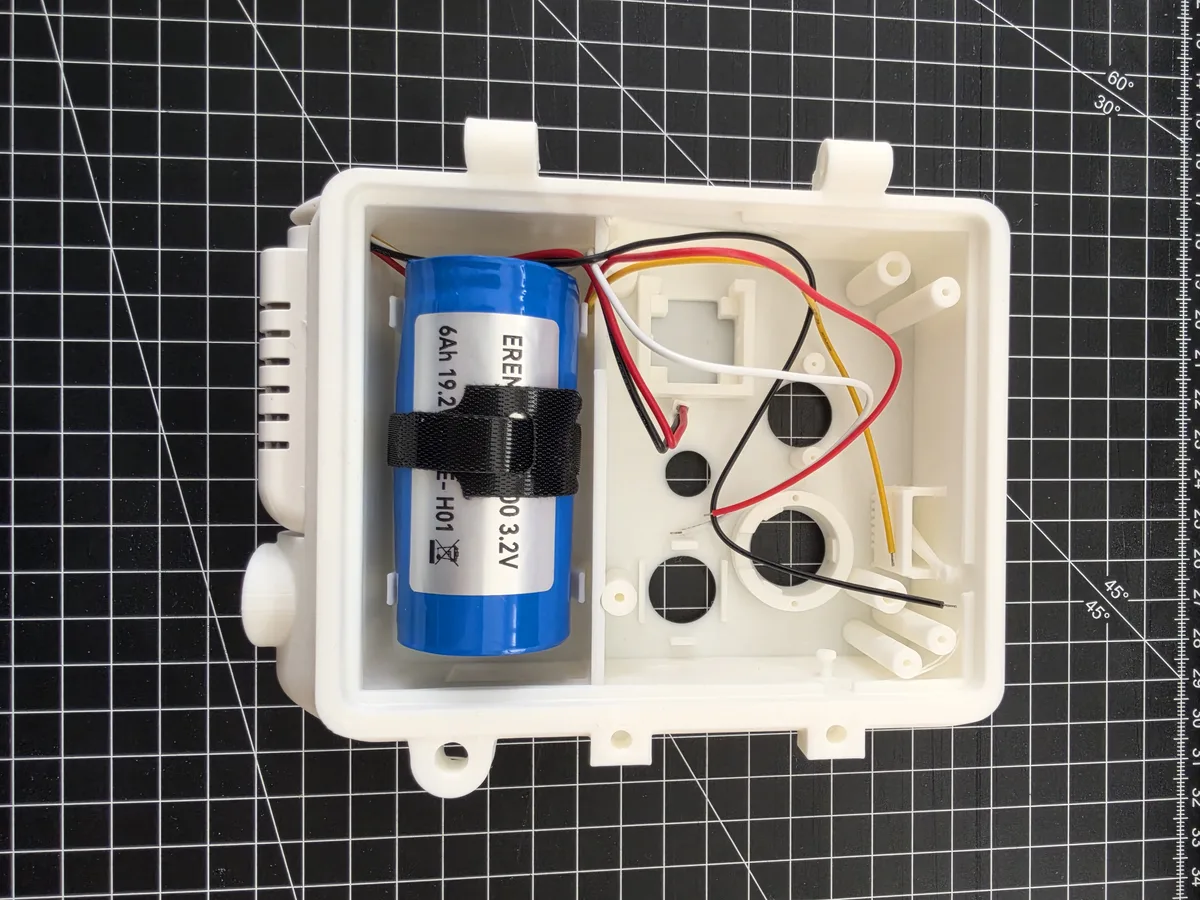
Printing is done on a Bambu Lab X2D. Prototypes are deliberately produced cheaply in PLA with thin walls and little infill; it's only about fit. The later outdoor use will be in PETG, which handles UV and moisture significantly better, with the sealing parts made from TPU. Whether the final version will ultimately be switched to ASA remains to be seen.
A few favorite details from the printing work: The battery compartment has a printed bridge under which a Velcro strap runs and secures the cell without any additional parts. The hinge receives a stainless steel pin and was checked for fit between all three involved parts. And a small embossing is recessed into the bottom of the battery compartment: Copyright, year, and version number. If it's a small series, then do it right.
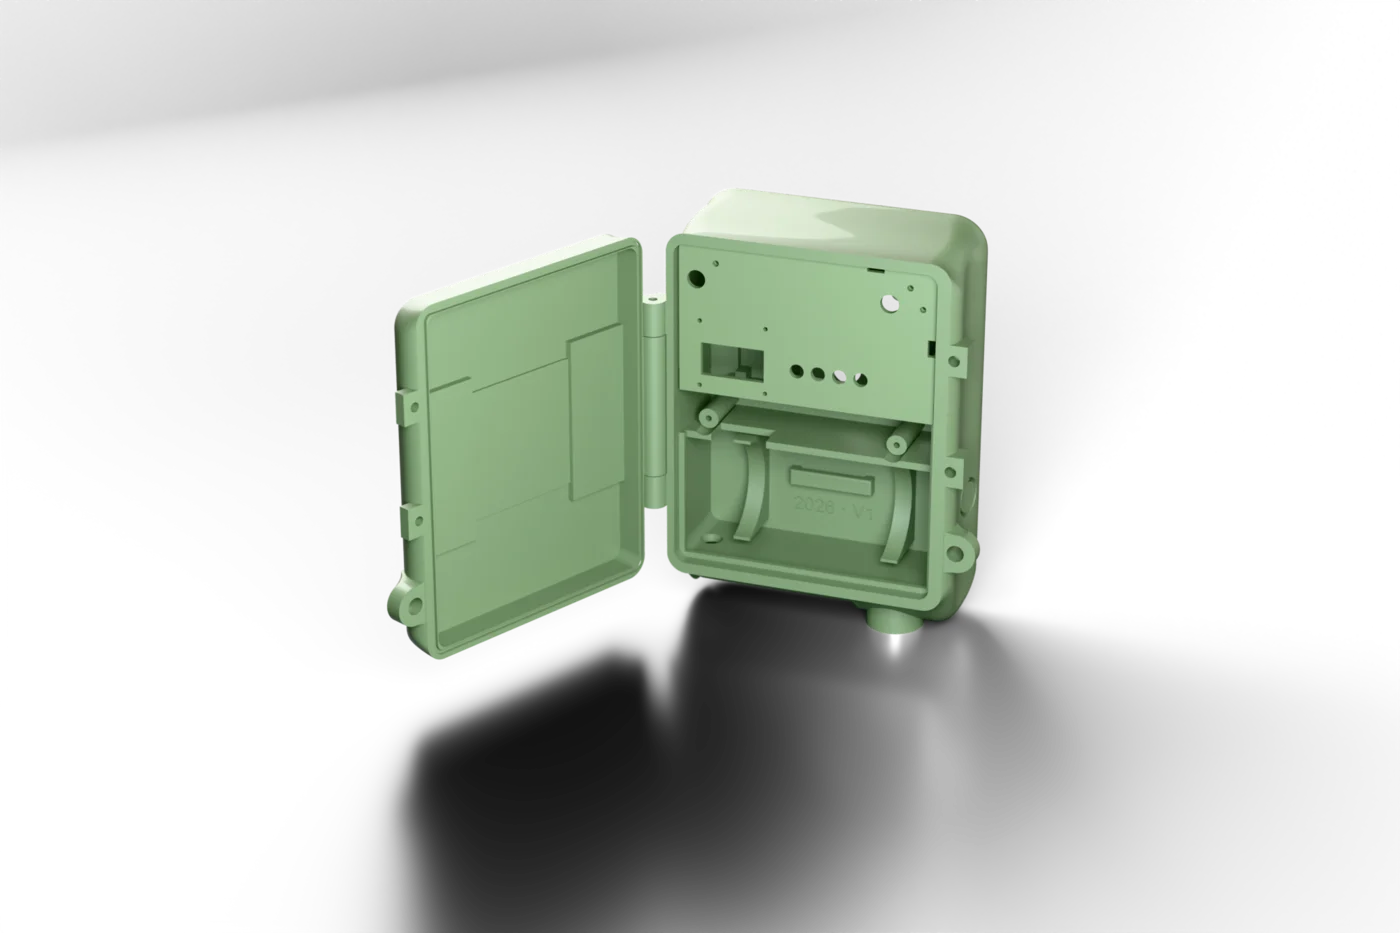
Where the housing stands today
Version 1 is structurally finished and ready for printing: all findings incorporated, all collision checks green, and the print profiles written. Next comes the fit test print, where the PCB, battery, and sensors will be inserted for the first time. This will be followed by the final print in PETG.
Part 4 will follow with the final assembly, and Part 5 will feature the first experiences outdoors.